drone

BUILD A DRONE: PART I

  • Aviation technology has always been fascinating to me. While away from campus, I had the idea of building my own aircraft. After doing some research on my own, I decided on a quadcopter.

  • Definition: A quadcopter, also called a quadrotor helicopter or quadrotor, is a multirotor helicopter that is lifted and propelled by four rotors. Quadcopters are classified as rotorcraft, as opposed to fixed-wing aircraft, because their lift is generated by a set of rotors (vertically oriented propellers) - Wikipedia.

  • Drone Parts

  • Building a quadcopter drone requires some basic components. I looked into the quadcopter frame, motors, and propellers first.

  • You may then consider how the motors would be controlled. What will modulate their speed? This is where the electronic speed controllers (ESC) come in. I got four 30A brushless ESCs for the motors I had.

  • Now that the motors are connected to the ESCs, we need to supply power. Instead of using four different sets of batteries for each ESC-motor pair, we could instead use a power distribution board (PDB) and a single, powerful lipo battery. Same as it sounds, a PDB is able to break down the power coming from a single source - in this case, our lipo battery - and feed into multiple electronic components. Check that the lipo battery (which has varying number of cells) will be compatible with the ESCs.

  • In order for the flyer to control the ESCs remotely, we need a set of RC receiver and controller (joystick-like), and an onboard flight controller. We would proceed to connect the signal outputs on the ESCs to the flight controller at appropriate positions, and connect the flight controller to the receiver via pins and wires. The receiver is paired with the RC controller, and while the RC controller rests in your hand, it is able to "talk to" the receiver, and thus controlling the drone.

  • Drone Assembly

  • IMPORTANT: do not mount the props until everything else works!

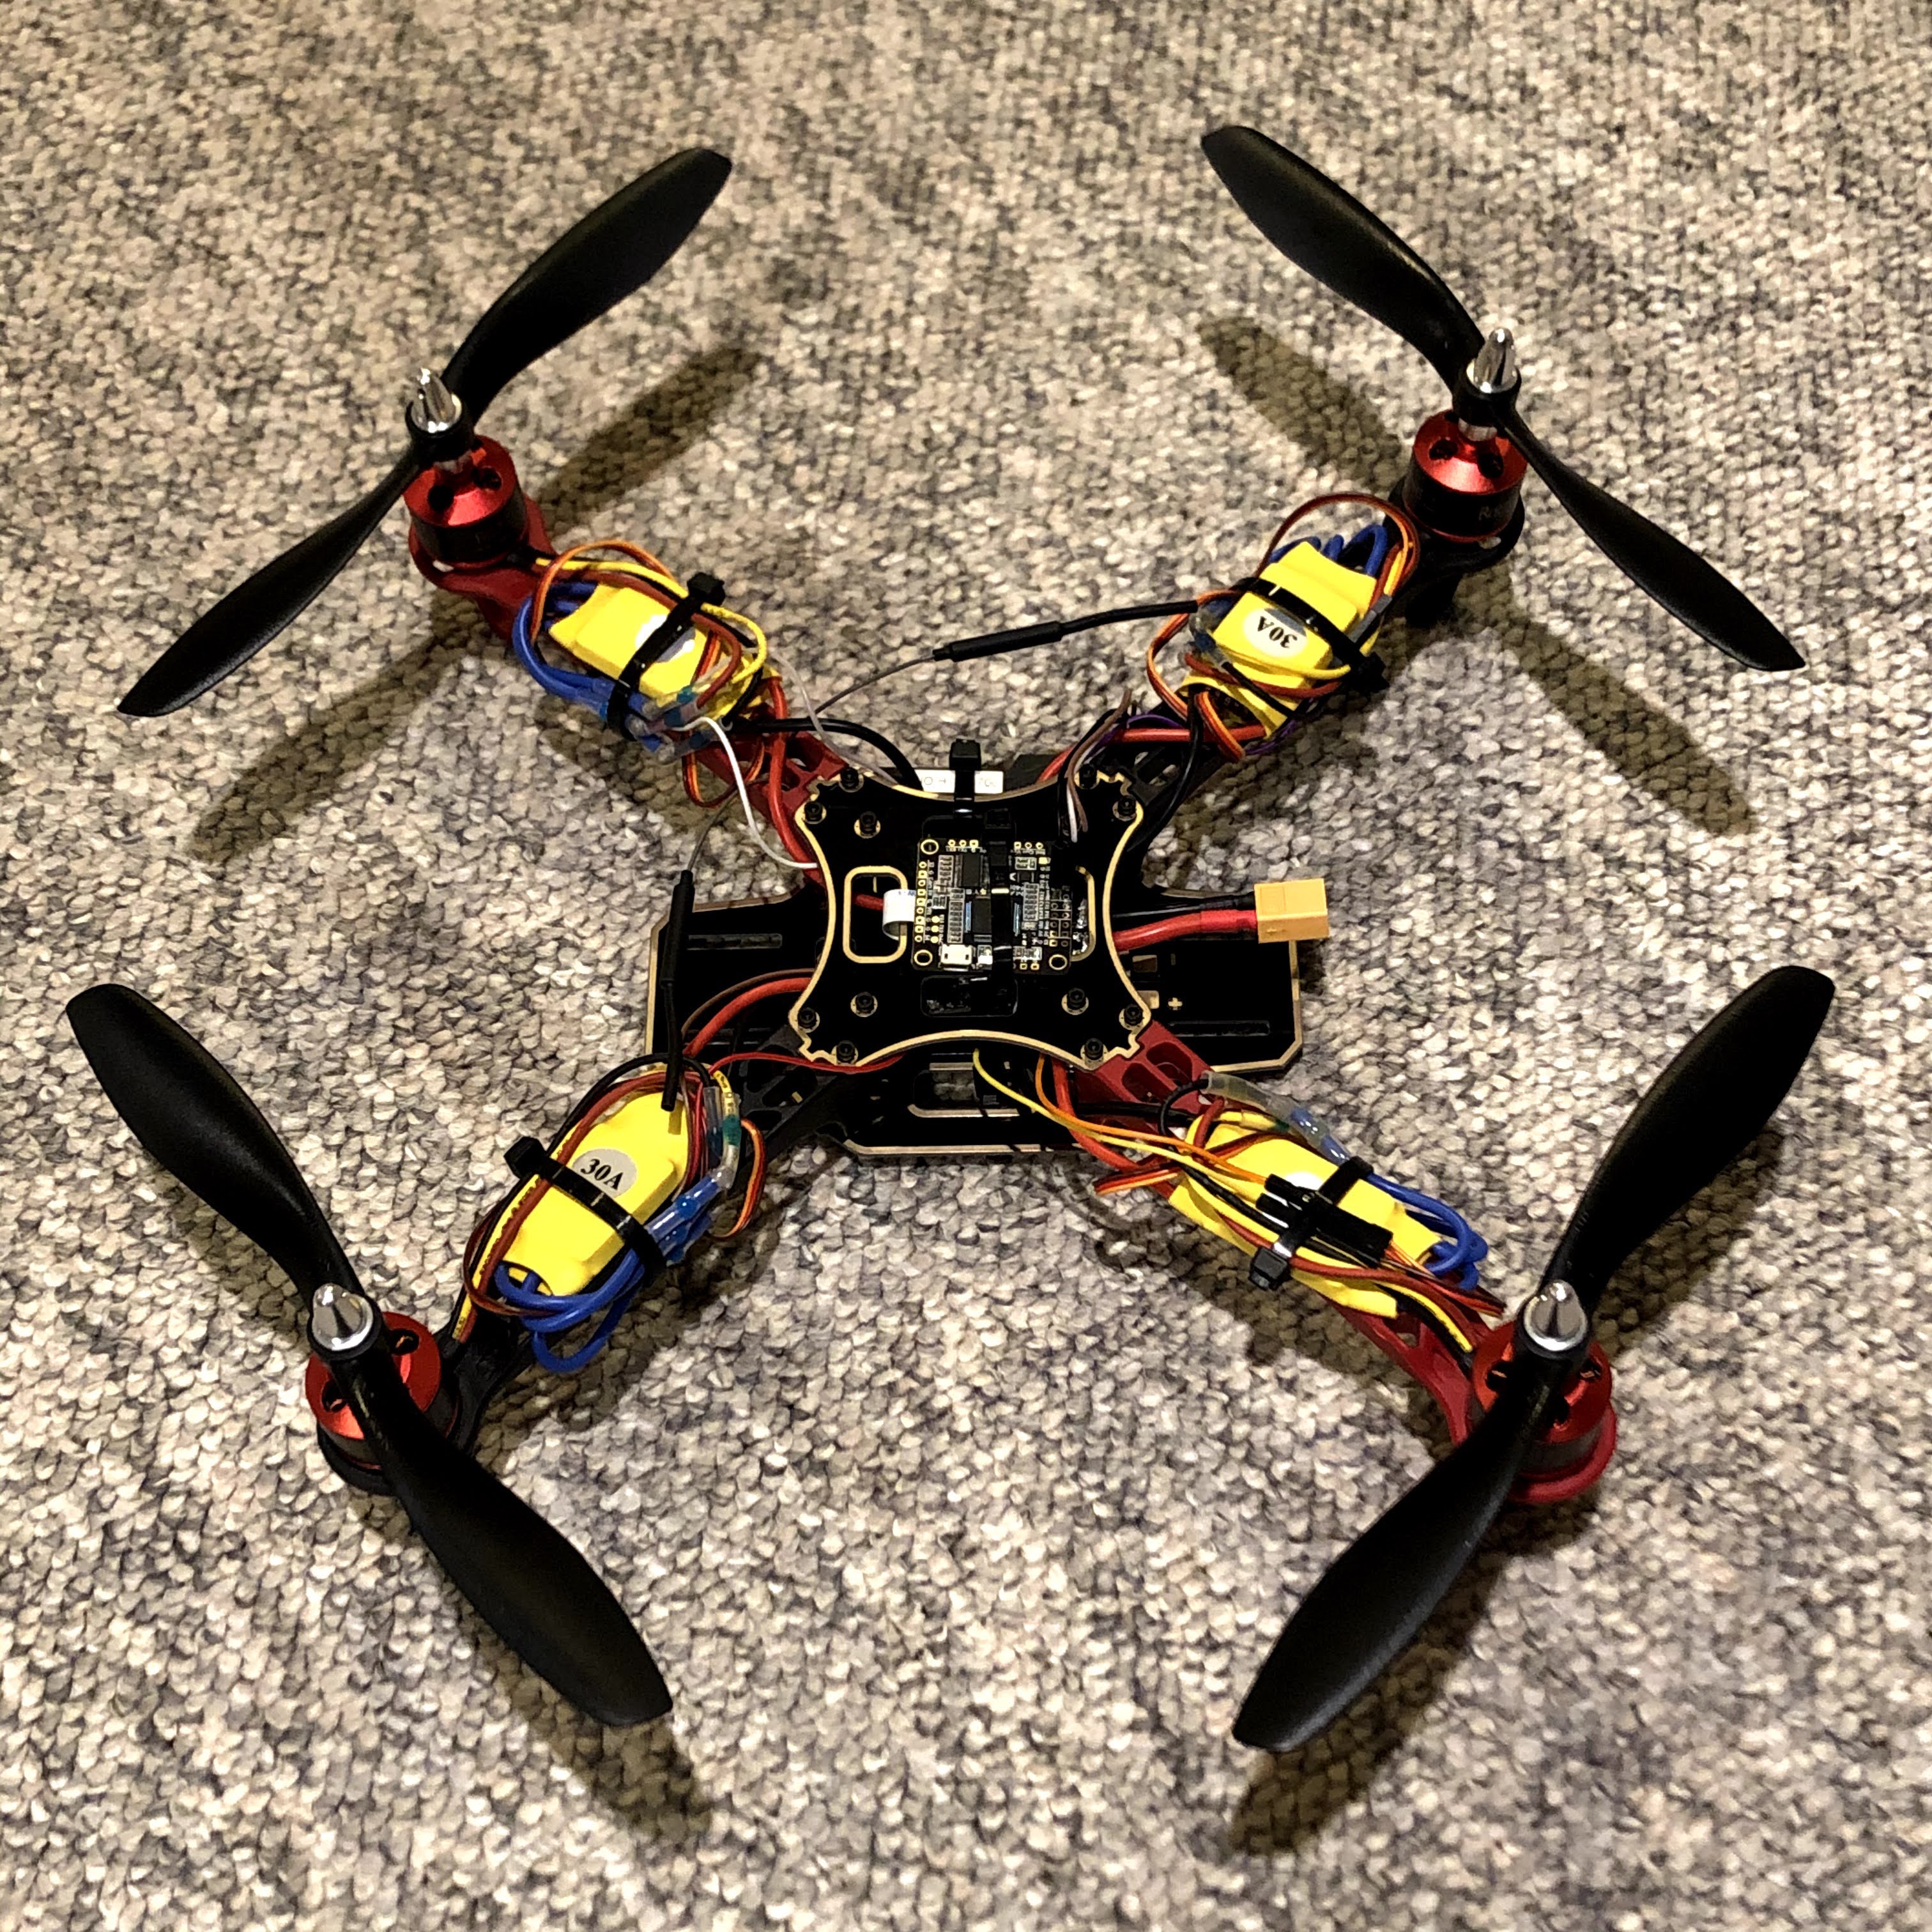
  • Motor - ESC: simply solder the pair together; the order in which the motor is wired to the ESC does not matter EXCEPT for orientation. A quadcopter needs two motors to go clockwise (CW) and two counterclockwise (CCW). For a CW motor, coupled with a pusher proller, the wires would be directly attached without crossing over. However, for CCW motors, coupled with a normal propeller, you have to cross two wires, doesn't matter which ones specifically.

  • ESC - PDB: there are four pads for four ESCs on the PDB. Start by soldering the red and black wires on the ESC to the pads labeled positive and negative on the PDB. Then, for the group of three pins in the middle, connect the ground pin to the negative pad as well (optional, just for common ground), the signal pin to the pad typically labeled S# (where # is a number 1-4), and leave the red V-in pin alone. Note: the number on the signal pads matter, make sure you keep track of the direction of the flight controller and install the ESCs with the motors attached to them in the correct places.

  • LiPo Battery - PDB: solder XT-60 connectors to the main power pads of the PDB, and on the LiPo battery as well if it does not already have one.

  • PDB - Flight Controller: for my specific model, the PDB and the flight controller were connected by a flexible flat cable.

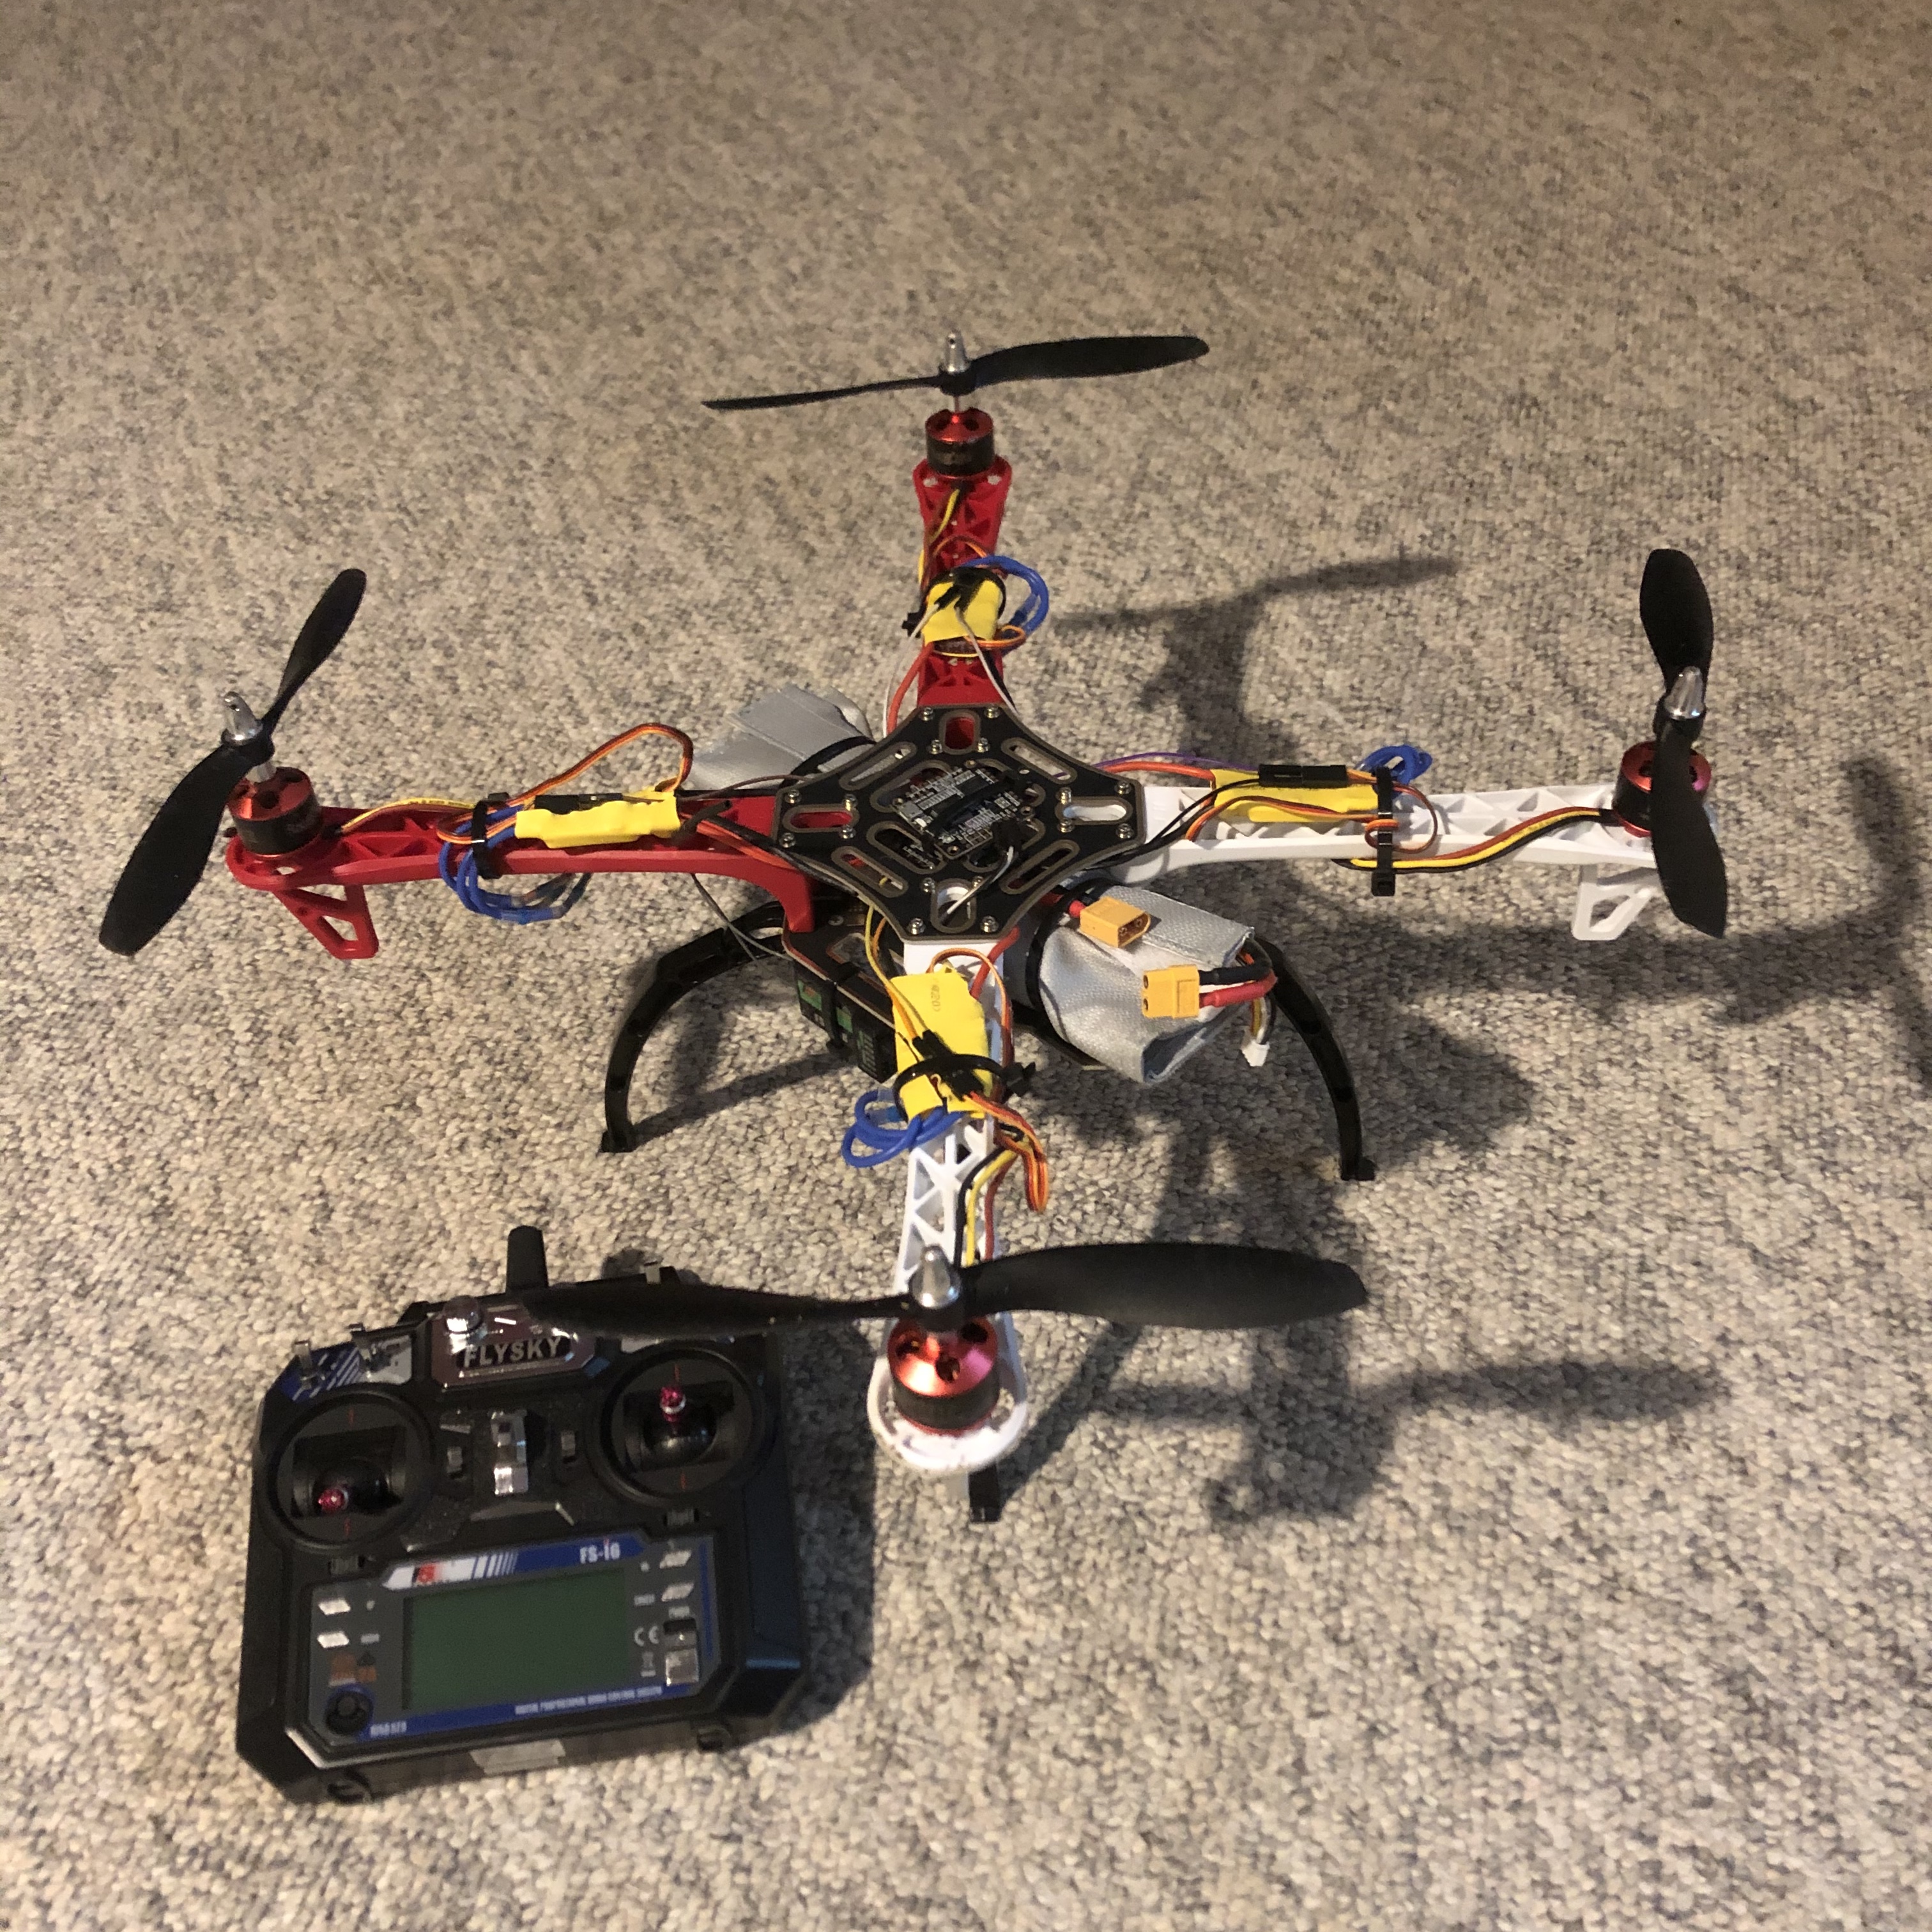
  • Flight Controller - RC Receiver: I chose the iBus protocol. Solder wires onto any of the RX pads (in my specific case, I used RX2), V-in, and ground. Connect the three wires then to the RC receiver on the very left column, with signal wire on top, V-in in the middle, and ground last in the servo section. Use Betaflight to configure the flight controller, including enabling UART2 (for RX2) in Ports, set the ESC/Motor protocol to PWM in Configurations, and change the receiver mode to RX_SERIAL and iBus.

  • RC Receiver - RC Controller: the pair already came binded, but there is a bind key if a different receiver were to be used. Key settings: under System setup/ RX setup/ PPM output, set Receiver PPM output to OFF.

  • Models and Test Flights

  • I have built two models of the quadcopter so far (since the first frame shattered), and have flown both. During test flights, I have discovered the motor/ESC groups to be a bit unstable, and the drone would not be able to hover as expected. However, Ada (yes, I named my drone Ada, after Ada Lovelace) was able to shoot straight up four or five times in the past, and it was very impressive. Too bad I have not been able to capture the events on camera. I will make sure to keep better documentation in the future.
  • The following pictures were taken in May & June '20.

  • 1 / 2
    - Model 1
    2 / 2
    - Model 2

    Ideas for Future Projects

  • Onboard GPS: add GPS module on drone to track its real-time location.

  • FPV Goggles: mount camera and video transmitter onboard to see from the drone's view in flight.